Whether you’re working with traditional wallpaper or peel-and-stick styles, the process of hanging wallpaper can be straightforward with a little planning and patience. Follow this easy guide to get started!
What You’ll Need:
- Wallpaper rolls (same run number)
- Wallpaper adhesive (for traditional paper)
- Smoothing tool or plastic scraper
- Sharp utility knife or scissors
- Tape measure
- Level or plumb line
- Pencil
- Wallpaper brush or roller
- Clean sponge or cloth
- Bucket of clean water (for paste or cleanup)
- Step ladder (if needed)
Step-by-Step Instructions:
1. Start with a Clean, Prepped Wall
- Your wall should be smooth, dry, and primed or painted (and fully cured).
- If using peel-and-stick wallpaper, make sure the wall is clean and free of dust or oils.
2. Mark Your Starting Line
- Use a level or plumb line to draw a straight vertical line on the wall where your first strip will go. This ensures your wallpaper hangs straight—even if the corner isn’t perfectly square.
- Choose a starting point that avoids placing seams in tricky areas like corners or next to doors.
3. Cut the First Strip
- Measure your wall height and cut your first wallpaper strip, leaving 2 extra inches at the top and bottom for trimming.
- For patterns, make sure the design lines up when cutting multiple strips.
4. Apply the Wallpaper
For Pre-pasted or Paste-the-Wall:
- Follow the product instructions for applying adhesive.
- If it’s pre-pasted, soak the wallpaper as directed and allow it to activate.
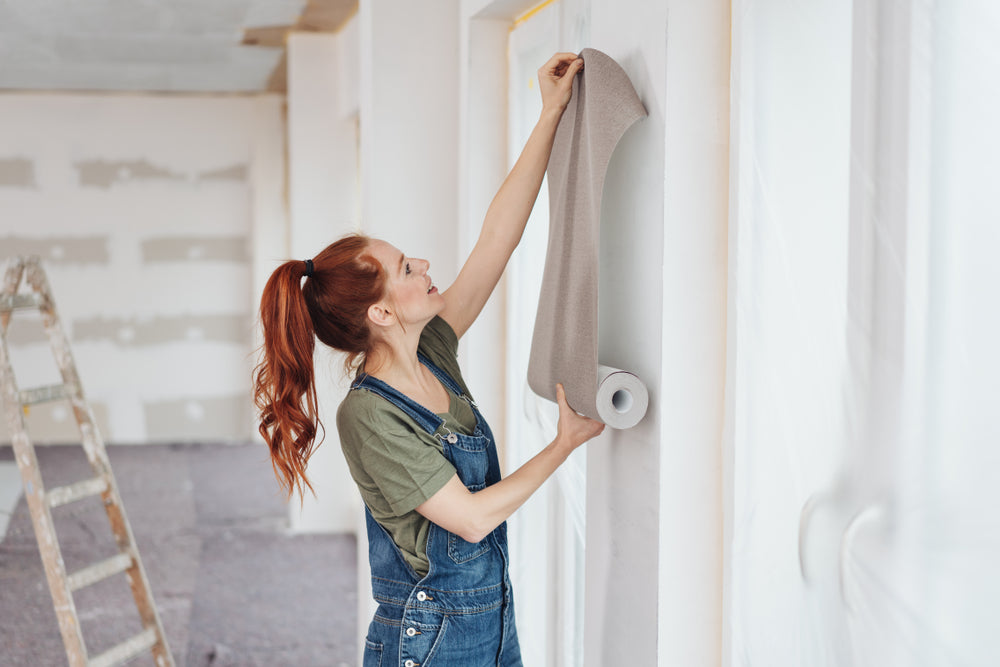
For Peel-and-Stick:
- Peel about 12 inches of the backing and begin aligning the top of the strip to the wall.
5. Smooth It Down
- Use a smoothing tool to press the strip onto the wall, working from the center outward to remove air bubbles and wrinkles.
- Keep edges aligned with your guide line.
6. Trim Excess
- Carefully trim excess paper at the top and bottom using a sharp utility knife and a straight edge.
7. Line Up the Next Strip
- Match the pattern (if applicable), then repeat the steps above for each new strip.
- Leave a tiny overlap if the wallpaper requires it, or butt seams tightly depending on the product type.
8. Wipe Down and Clean Up
- Use a damp sponge to gently wipe away any glue or fingerprints as you go.
- Replace outlet covers and rehang any décor after the wallpaper fully dries (usually 24–48 hours).
Quick Tips:
- Work slowly and take breaks—wallpaper isn’t a race!
- Always double-check pattern alignment before pressing down a strip.
- Keep your tools handy and blades sharp for clean cuts.