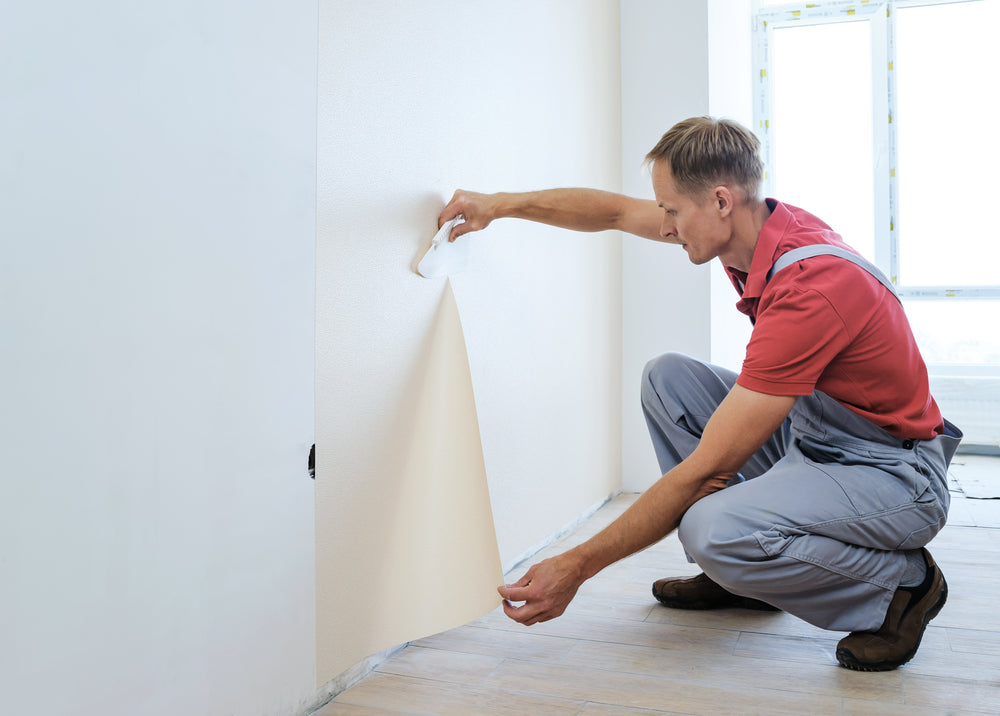
Proper prep work makes all the difference when it comes to achieving a smooth, long-lasting wallpaper application. Here’s how to get your walls—and your workspace—ready for installation:
Allow Time for Prep
Give yourself a few days before installation to prepare the surface properly. For best results, never apply wallpaper over:
- Existing wallpaper
- Textured surfaces
- Glossy or slick paints
Wall Repairs & Surface Prep
- Inspect walls for damage, cracks, or holes and repair as needed. Sand rough areas smooth—sharp imperfections can puncture or tear wallpaper.
- If you’re painting or priming your walls first, be sure to let them fully cure. Curing typically takes about 4 weeks, but always follow the paint or primer manufacturer’s guidance. Wallpapering over uncured paint can cause bubbling or peeling.
Prep the Room
While an empty room is ideal, just clear as much as possible. Push large furniture to the center and cover it with drop cloths.
- Take down wall décor and accessories. Planning to rehang them in the same spot? Mark holes with a toothpick for easy reference.
- Remove outlet and switch covers.
- Protect your floors with drop cloths.
- Gather your wallpaper tools and materials.
- Check roll numbers—all wallpaper rolls should have the same run number to ensure a consistent color match. Different run numbers may result in subtle (but visible) color differences.
Measure & Plan Your Layout
Before you hang anything, take time to mark out your wallpaper layout:
- Decide where to start and end your wallpaper. The ending point—known as the kill point—should fall in a less noticeable spot, such as behind a door or above a doorway.
- Consider large visual features like fireplaces, windows, or major furniture. If using a patterned wallpaper, plan to center the design over your focal point for a balanced look.
- Measure the width of your wallpaper rolls. Then, using a tape measure and pencil, mark vertical sections around the room to guide strip placement.
- A good starting point is the center of your room’s largest obstacle (like a window). Adjust slightly if needed to avoid placing seams in tricky spots like corners or window edges.